
Picture basics
All the photos we see digitally, are made of pixels. They are tiny boxes of color, that will form the picture we see in front of us. Pixels cannot be seen, until zooming in the picture.
Picture dimensions means the height and width of the image. They can be represented in pixels or centimeters. The orientation of the picture can be landscape or portrait.
Resolution of the picture describes how sharp and detailed the picture is. The higher the resolution, the more quality the picture has. Resolution is good to keep in mind when resizing the image, especially from smaller to large.
Most common file formats are JPEG and PNG. JPEG uses lossy compression type when saving photos, which means that it removes some information and lowers the overall quality in order to reduce the file size. Still it provides quite high level, without a very large size. JPEG is mostly used for photographs while PNG is mostly used for graphics and illustrations. PNG uses lossless compression, which means it doesn’t remove any information and therefore the file size remains larger than in JPEG. GIF is also one file format, which is mostly used for animated images online. Other file formats are eg. RAW and BMP, which don’t use any compressions and therefore file sizes are much larger.
Picture editing
When editing images, it is important to keep a copy of the original picture since the edited picture might turn out much worse than the original. Some simple adjustments are for example cropping, resizing and rotating.
There are a lot of different editing tools, some are already available in devices and operating systems, while some are individual tools. There are both free and paid options. It is good to consider the right tool regarding how heavily the photo will be edited.
Some easy and useful example tools to edit pictures are:
Built-in software:
Windows – Paint, Photos
macOS – Preview, Appel Photos
iOS – Photos App
Android – Google Photos, Gallery App
Third-party software:
Pixlr
Adobe Photoshop
Instagram
VSCO
Photoshop Express
Microsoft Office (Word, PowerPoint, Publisher)
For practising photo editing, I used Adobe Photoshop. Unfortunately it is not free to use, but you can get a 7-day tryout period, after which the price goes up to 12 euros.
For the sake of practicing, I made a little trip to London (= Google). In order to cut myself to London (the background picture), I had to use 2 different layers in the application. Photoshop has an easy tool to crop whole objects out of picture, which I used to cut and copy myself to the first layer/picture. Finally I added the text with a text tool.
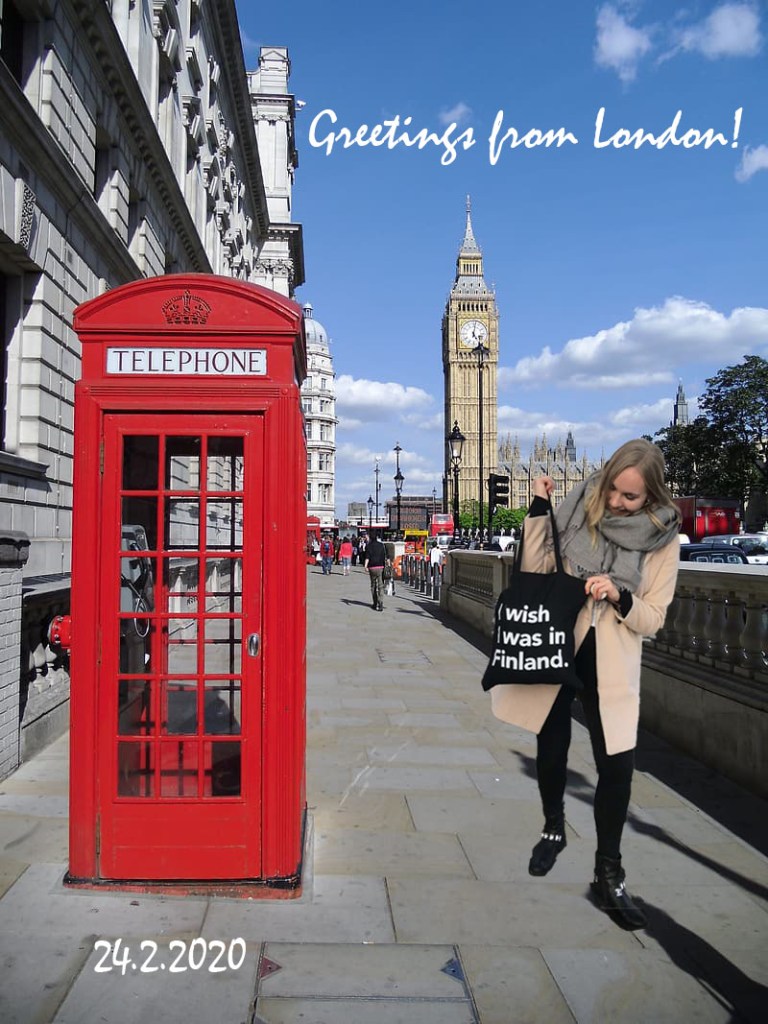
Hopefully this gave some insight about picture basics and editing. No need to travel anymore when you can just photoshop yourself to different places around the world, make your mom confused!
